Table of Contents
ToggleIntroduction
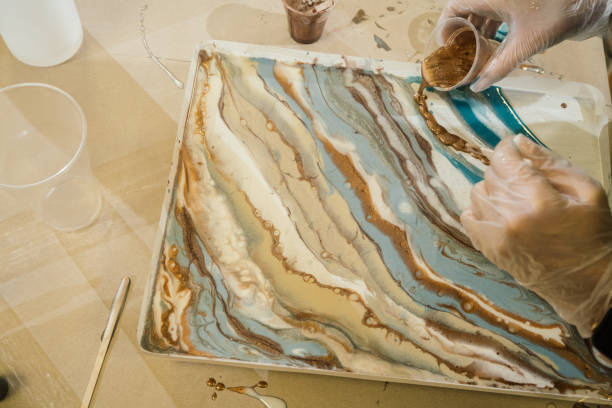
Resin art looks dreamy and magical—glossy finishes, vibrant colors, and a professional touch. However, if you are a beginner, you may have difficulty creating the perfect resin finish. I have been there; I made a lot of mistakes when I started the resin art journey. In this blog, I will share the top 5 resin art mistakes and how you can avoid them. Trust me, learning from others will help you, and it will also save you time and money.
List Of 5 Resin Art Mistakes
- Not Measuring the Resin and hardener properly
- Ignoring safety precautions
- Pouring Too much resin at once
- Not popping bubbles properly
- Rushing the curing process
1. Not Measuring the Resin and hardener properly
Mistake I made
In earlier projects, I estimated the amount of resin and hardener. I thought, Close enough”—major error! The result was sticky, soft resin that never cured.
Why does this happen
Epoxy resin demands an exact 1:1 ratio (or according to brand recommendations)
Incorrect ratios result in incorrect curing
How to Avoid It
- Always use measuring cups that have clear markings
- Before you combine the resin and hardener, pour them into separate glasses.
- Mix well for 3-5 minutes to achieve complete mixing
2. Ignoring Safety Precautions
Mistake I made
I made a mistake by not wearing gloves or a mask during my initial attempts. I also worked in a closed room. This caused skin irritation and headaches.
Why does this happen
Resin can release fumes and irritate the skin. Long-term exposure without protection is very harmful.
How to Avoid
- Work in a well-ventilated area
- Wear gloves and a mask
- Cover your workspace with plastic sheets or silicone mats
3. Pouring Too much resin at once
Mistake I made
Once I tried to make a thick tray in a single pour, and the resin overheated and crackled.
Why does this happen
Pouring more than the specified thickness might create a chemical reaction, resulting in heat.
How to Avoid It
- Pour thin layers, especially into deep moulds
- Allow each layer to cure before pouring the next
- Check the manufacturer’s directions for pour depth limits
4. Not Popping Bubbles properly
Mistake I Made
When I made my first coasters, they had bubbles even after curing. I didn’t know how to get rid of them at that time.
Why does this happen
Mixing naturally produces air bubbles. If not popped before curing, they remain indefinitely.
How to Avoid It
- After pouring the resin, use a heat gun or blowtorch to remove bubbles.
- Allow the combined resin to settle for a few minutes before pouring.
- Gently stir resin while mixing to reduce bubble formation.
5. Rushing the curing process
Mistake I Made
I demould piece after only 8 hours instead of 24. It softened and lost its shape.
Why does this happen
Each brand has its own drying period. Rushing produces sticky or bendy effects.
How to Avoid It
- Read the label instructions and allow for the full curing period (usually 24-72 hours).
- Don’t demould too early; it may appear dry on top but be soft inside.
Start Practicing Before Selling

I began selling too soon without understanding techniques such as inserting flowers or generating ocean waves. Allow yourself time to try before offering unique orders.
Conclusion
Every resin artist begins out as a beginner, and mistakes are a part of the process. The good news is that every failed pour will teach you something new.
I hope these resin art beginning mistakes (and solutions) help you avoid unnecessary struggles and create gorgeous, professional-quality creations from the start.
If you find this helpful, please share it with your fellow resin artists and leave a comment of your experience!
Leave a Reply